This week focused on Computer-Aided Design (CAD). The goal was to work on different softwares that process raster, vector, 2D, 3D and animations. I explored different tools like LightBurn, Inkscape, SolidWorks for 3D modelling and Renderair for rendering.
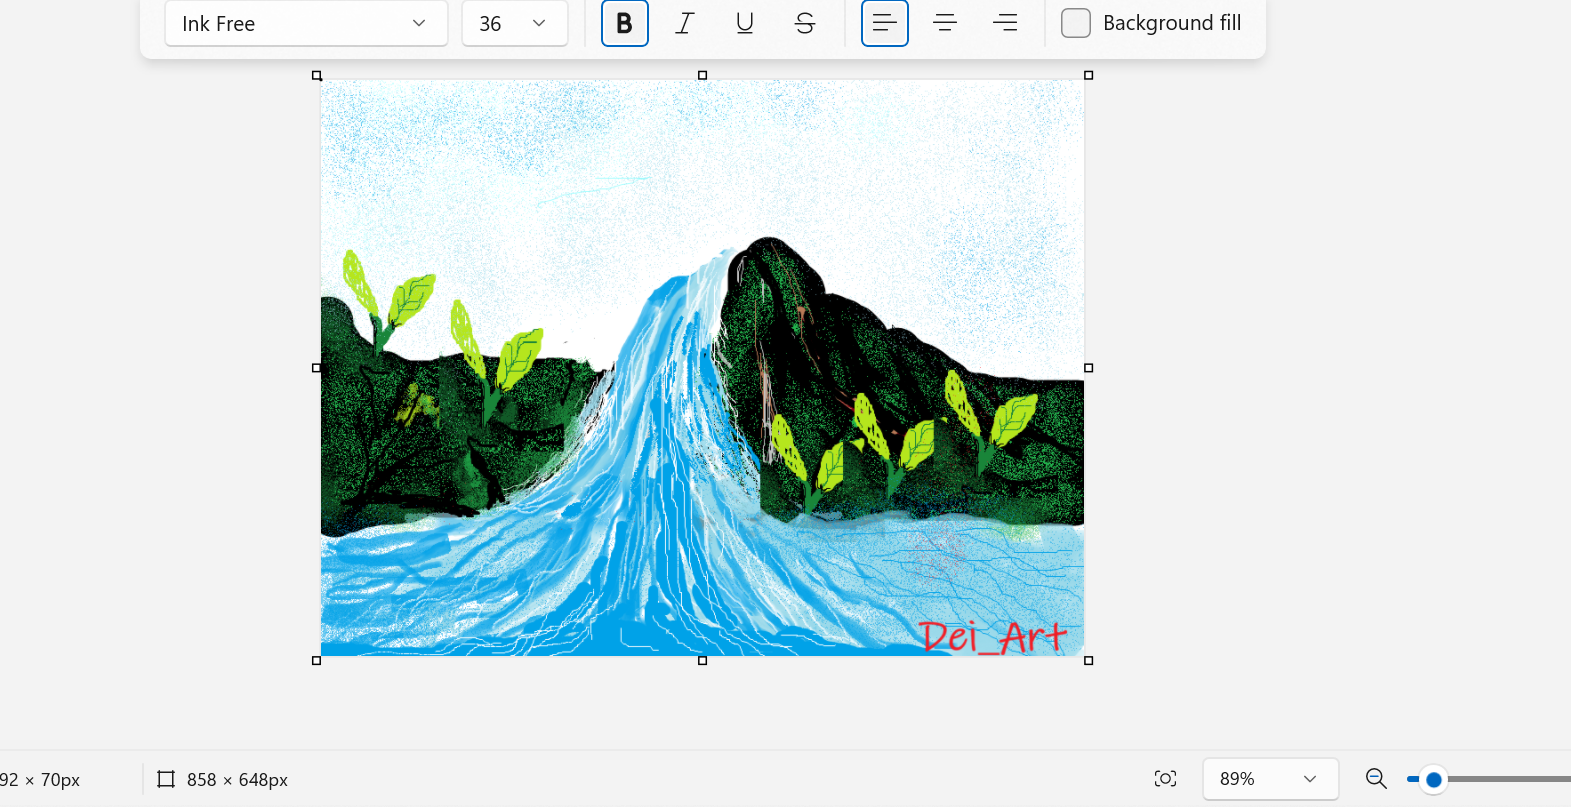
Creating raster image by paint
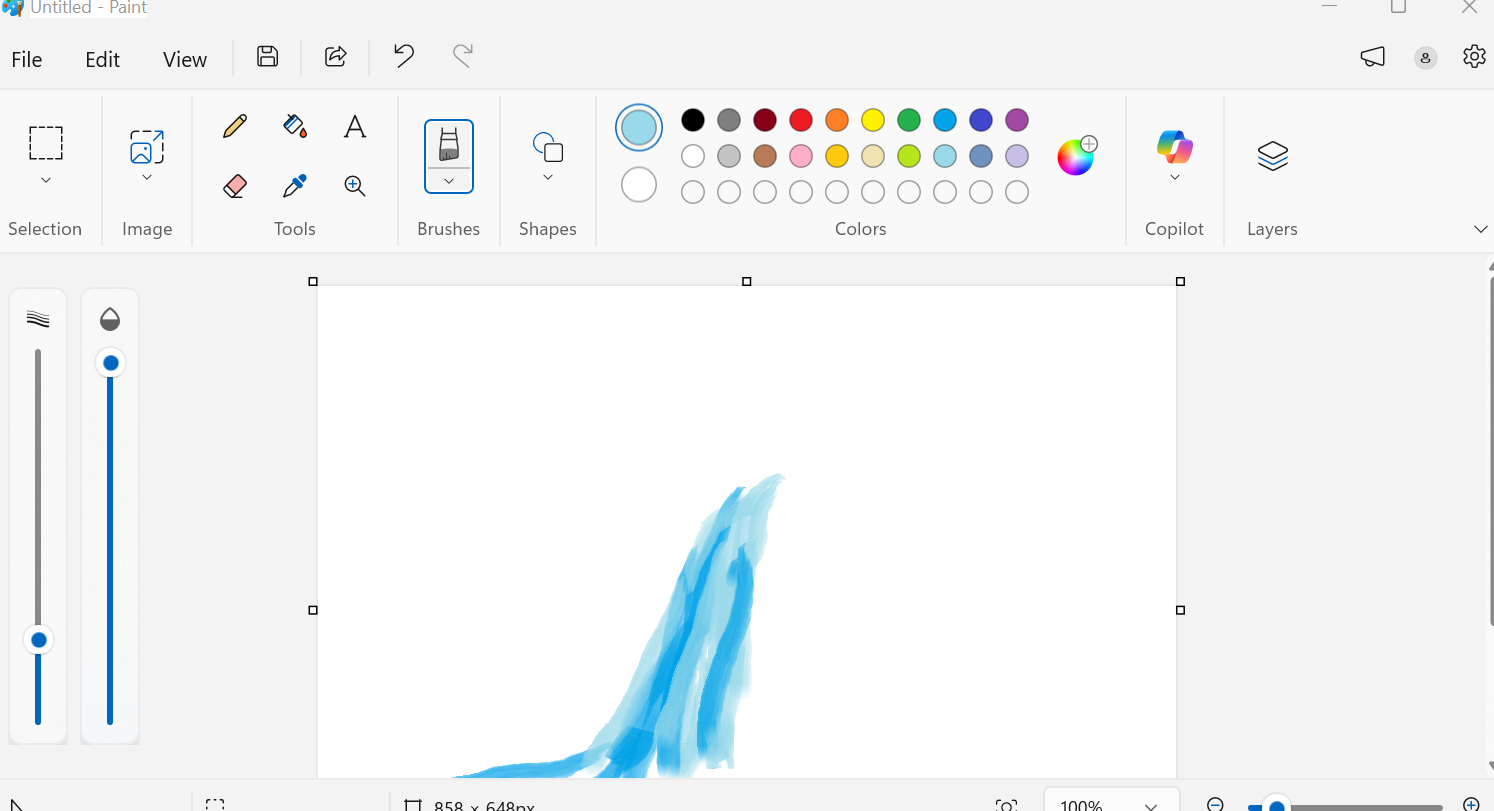
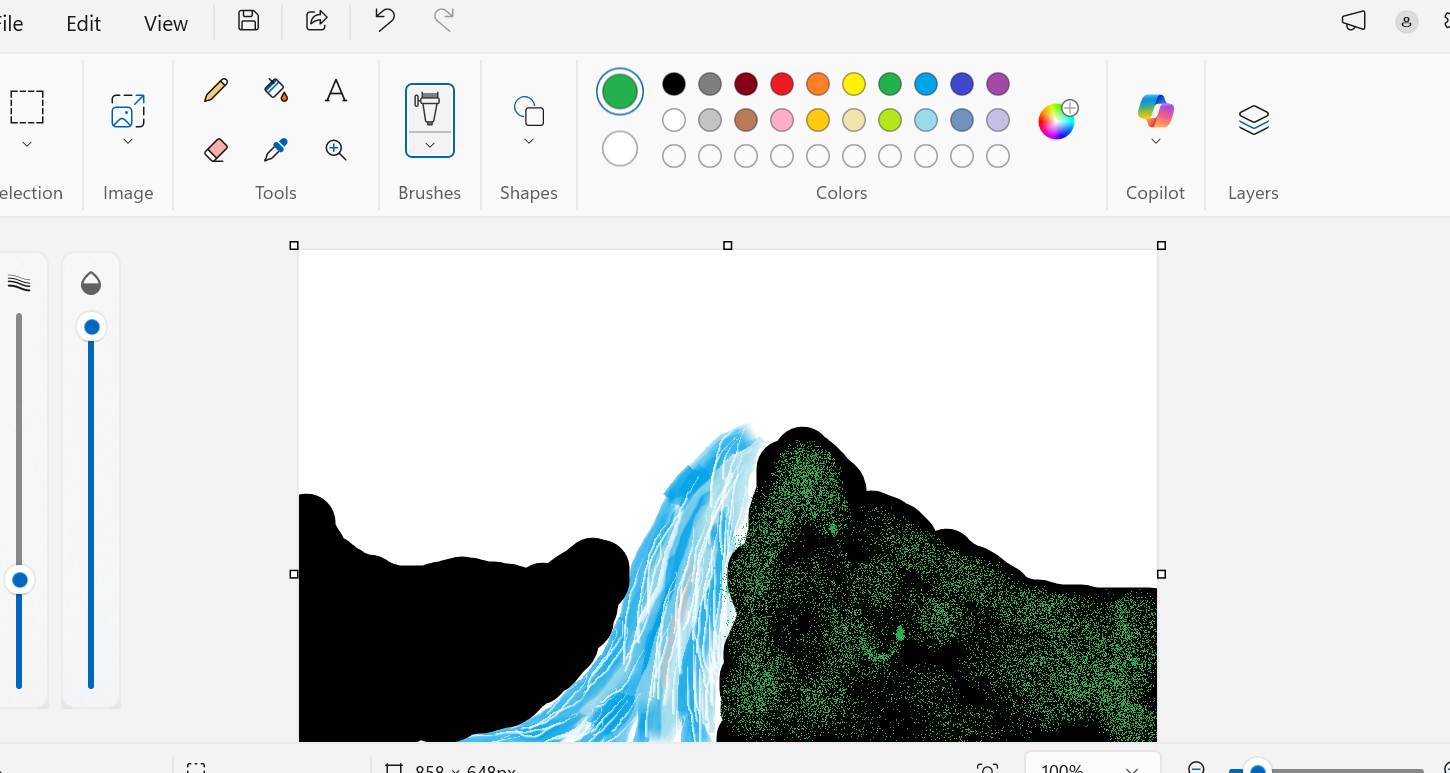
Paint is a microsoft product mostly used in arts. i ve used paint to draw the idea i had of water or swimming pool .As much i practiced i ve come up with waterfall
.i ve tried to use brush ,different types and sizes
Step 1: Started with using water brush to make water
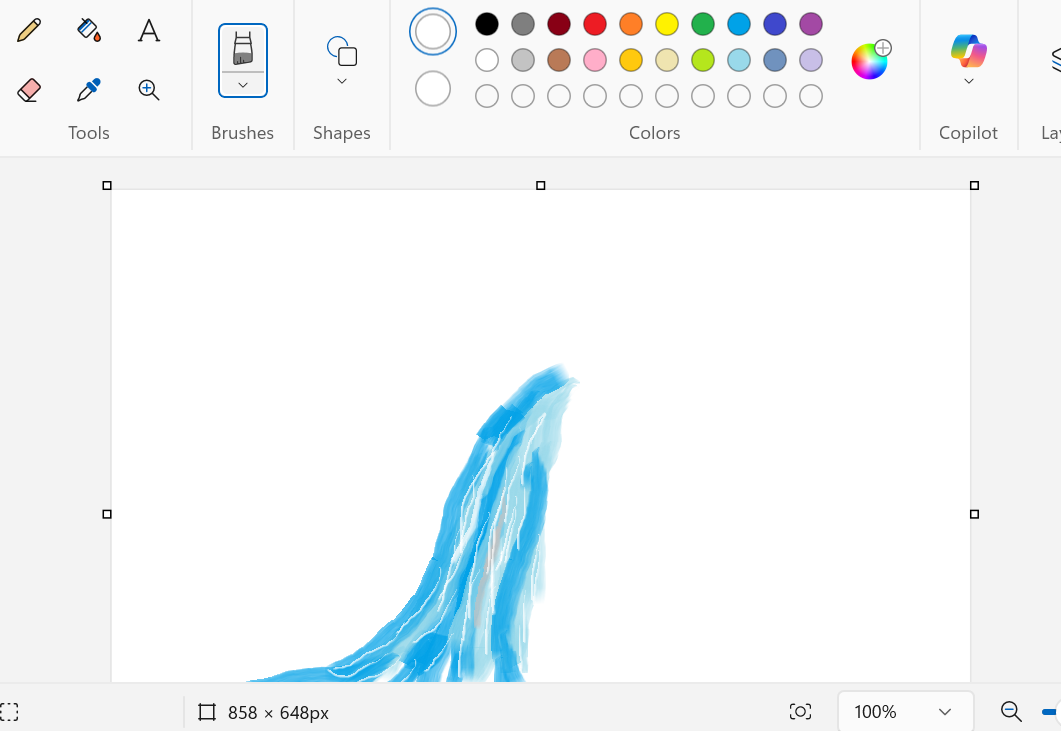
Step 2: I ve picked white brush tool with small size to add water textures
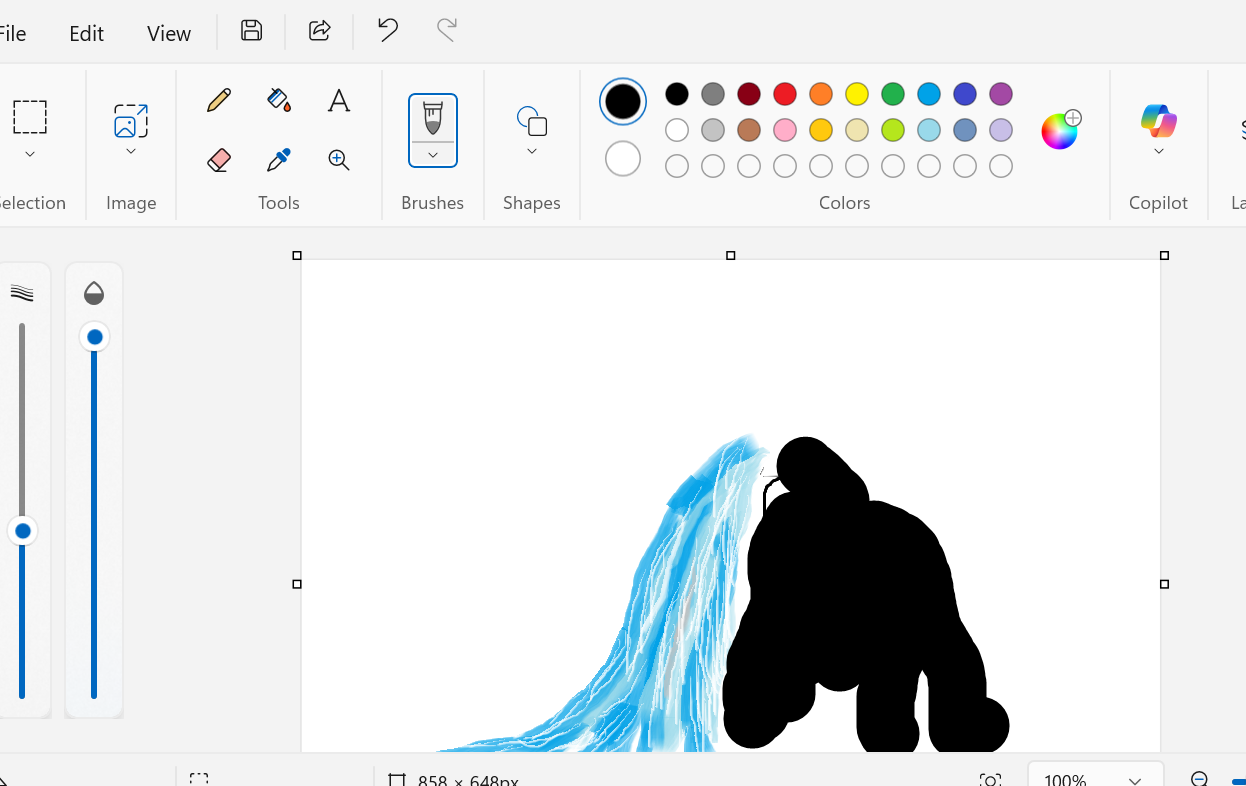
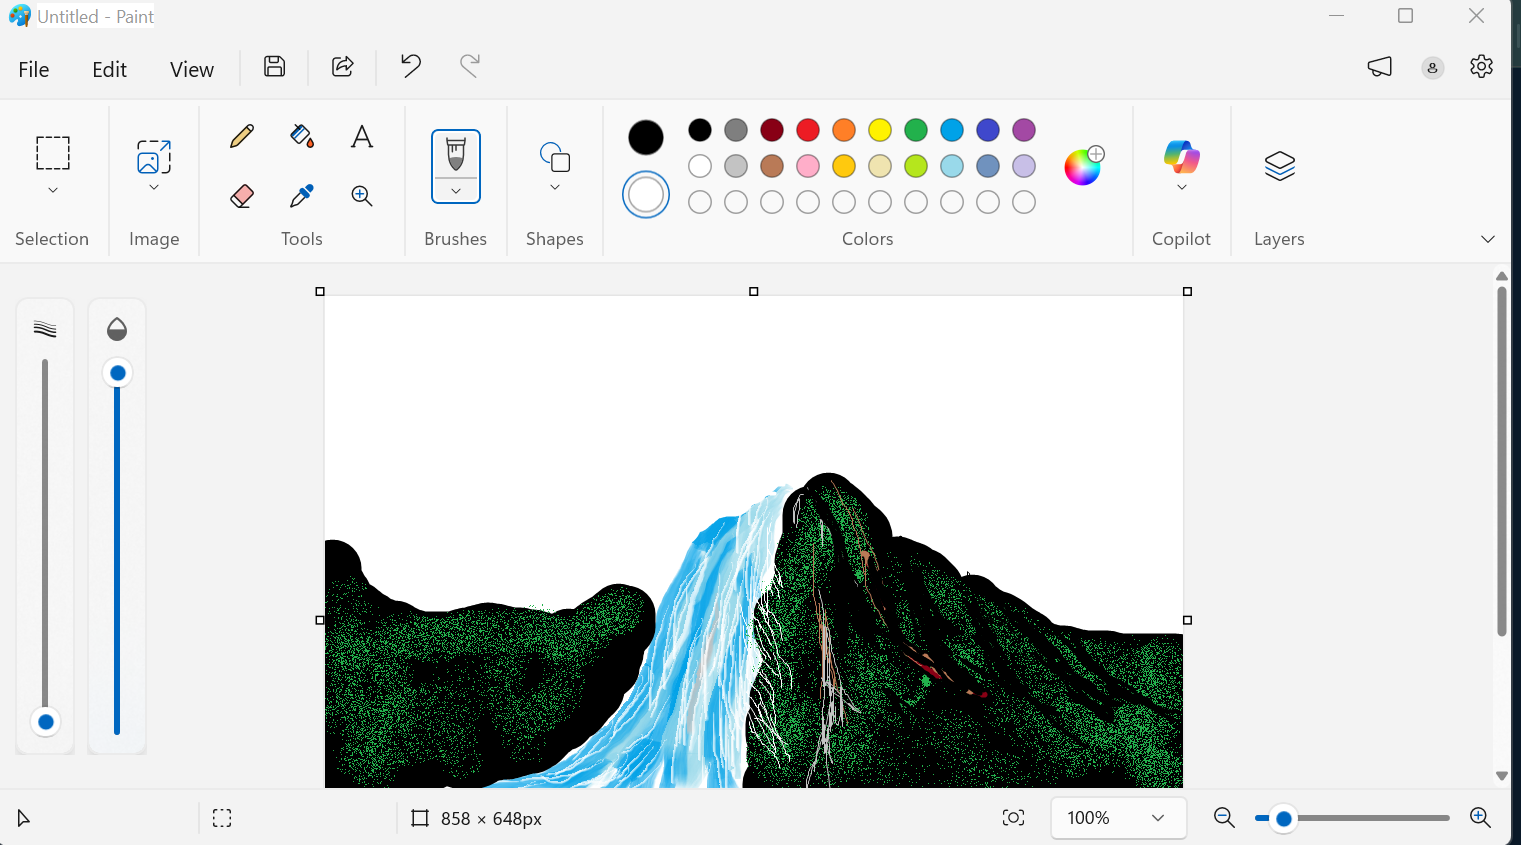
Step 3:Progressed with Black Brush to make darkside that form mountain
Step 4: Creating another side of mountain by black brush
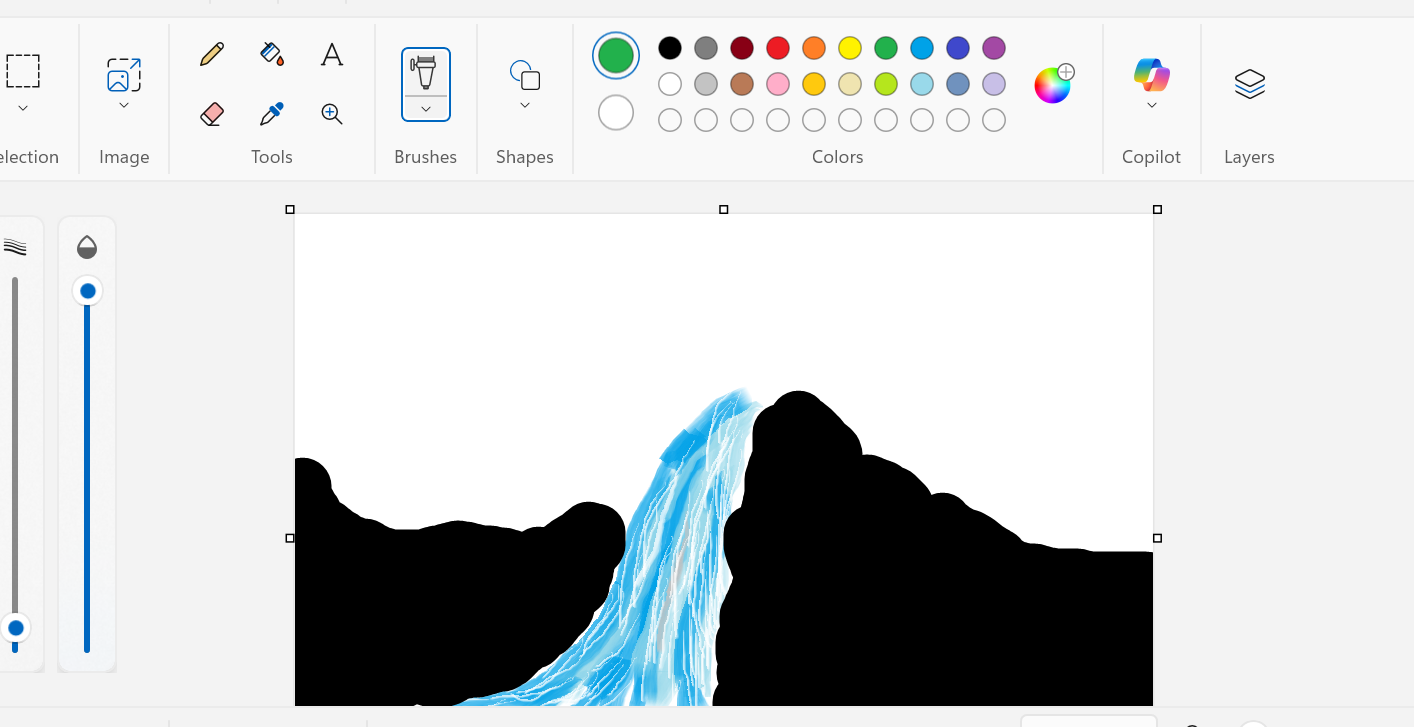
Step 5: Addition of green oil brush for adding glasses texture on the mountain
Step 6:Addition of green textures to another side
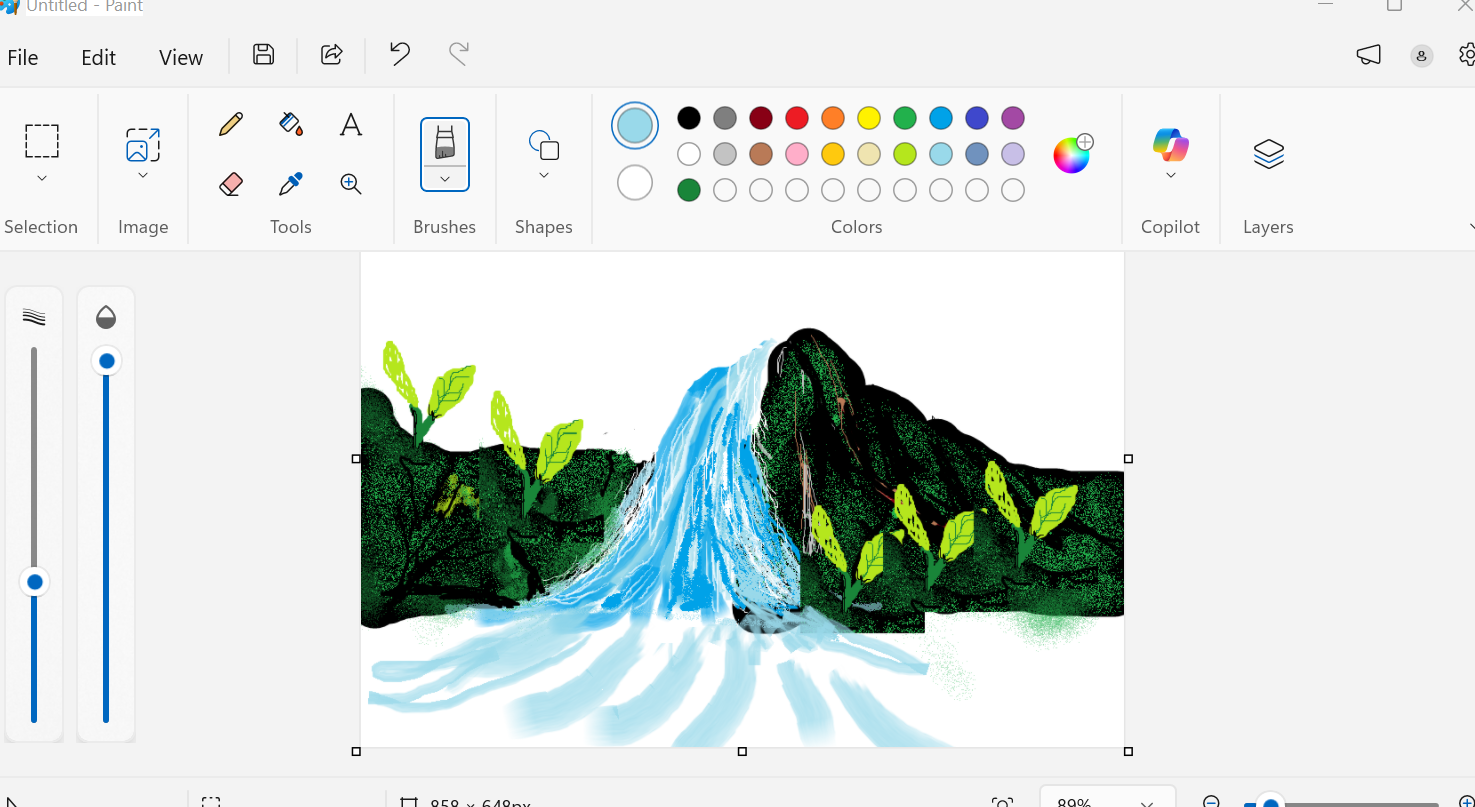
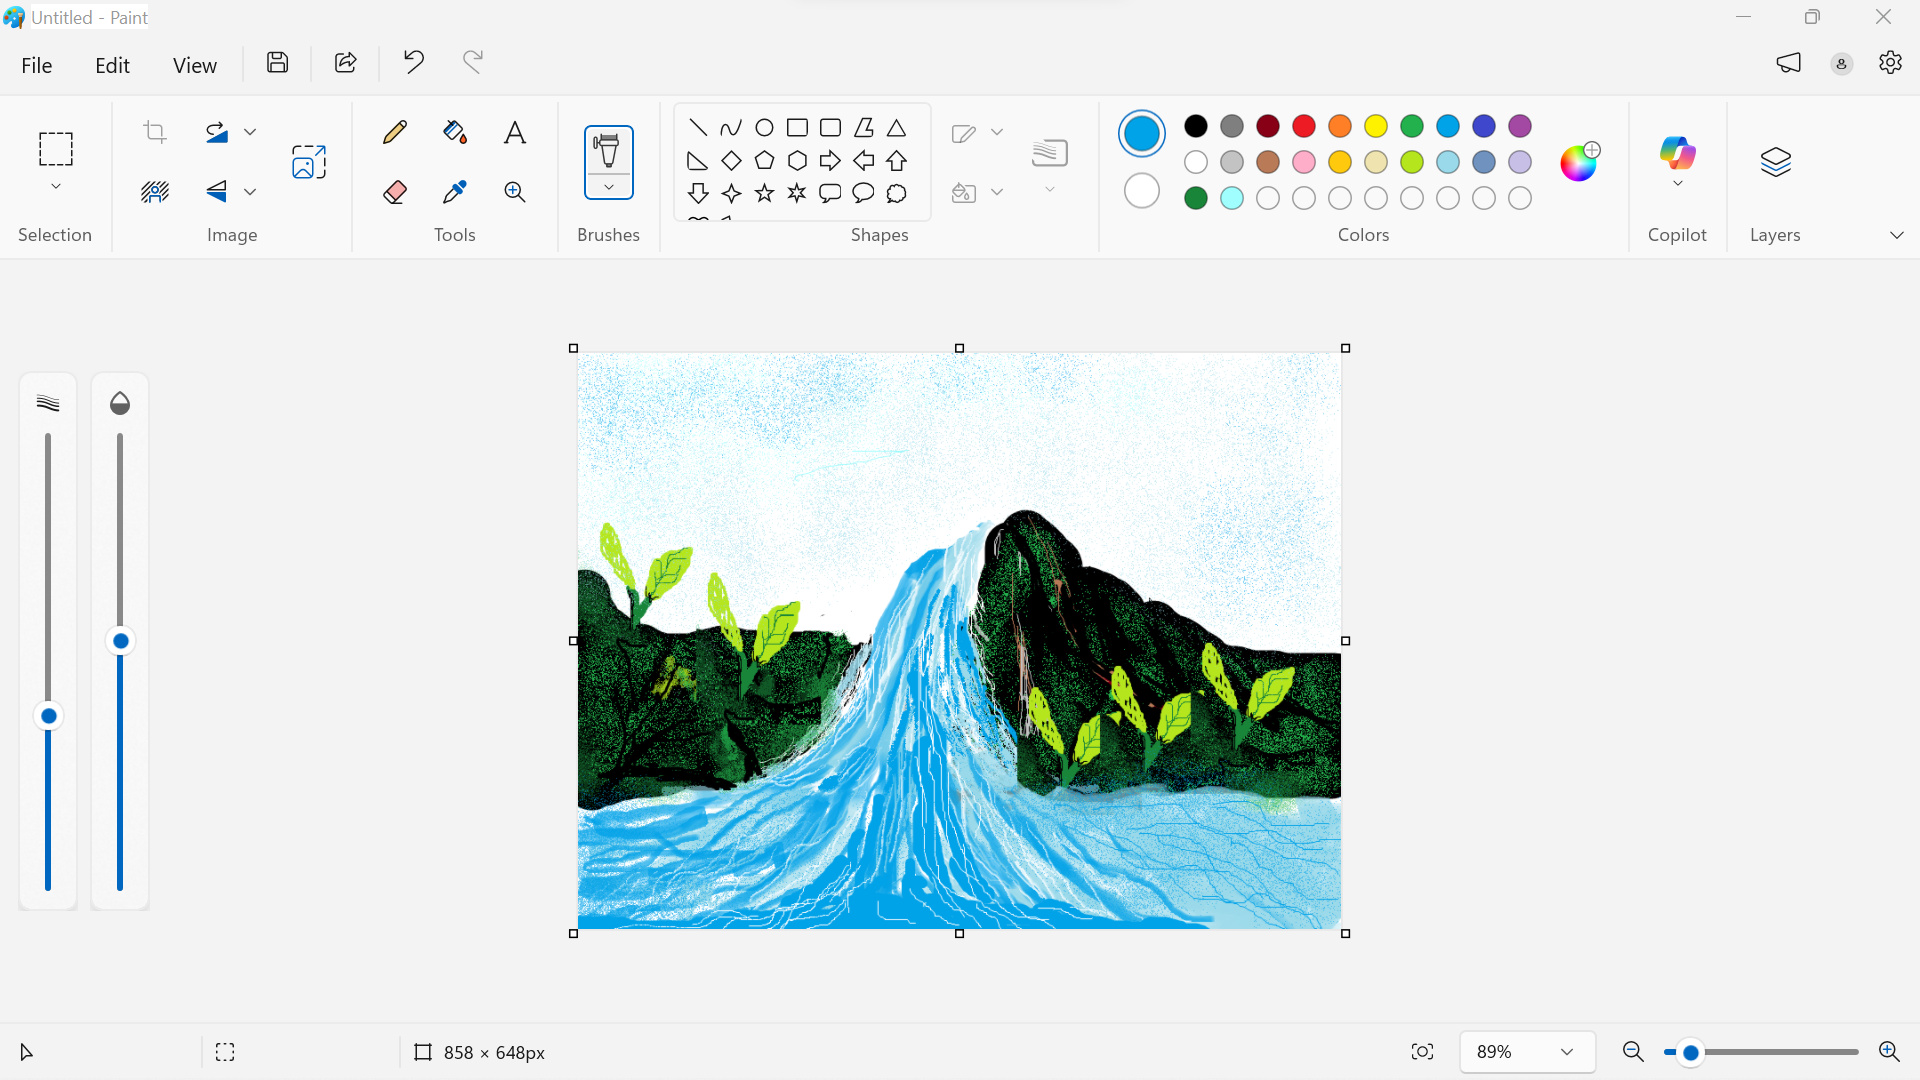
Step 7:Added Plants and copied them ,but i ve found tha there was uncovered space so i prolonged my waterfall
Sttep 8: Worked well on fixtures
As i end i ve even added a text bland.
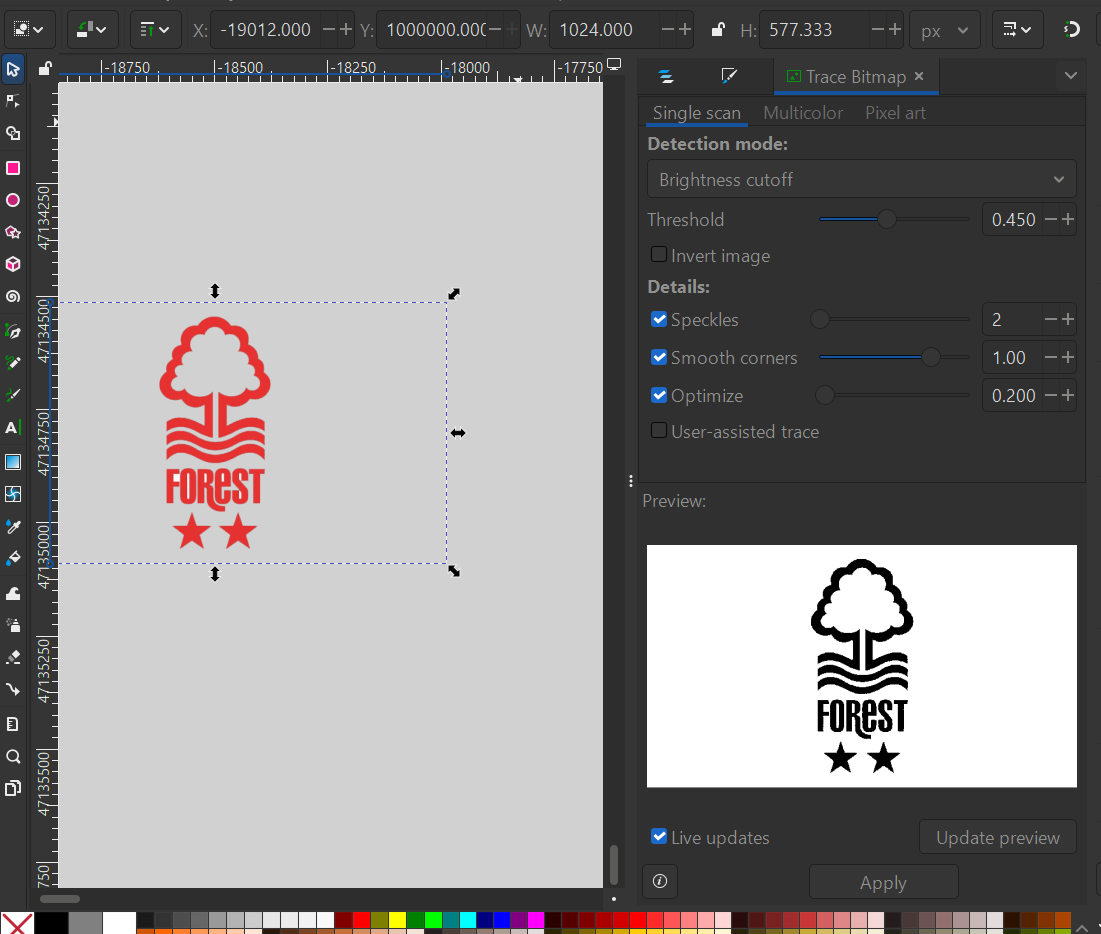
Image to Vector
During the vector creation, I used Inkscape. I downloaded an image of Nottingham Forest logo and imported it into Inkscape.
Image source:
https://1000logos.net/nottingham-forest-logo/
Choose Path to Trace Picture into Vector
To trace the image, I clicked on Path and chose Trace Bitmap.
As we can see, vector files do not lose quality when zooming in or out, unlike raster images which show pixelation.
Video: Effect of zoom on vector and raster images
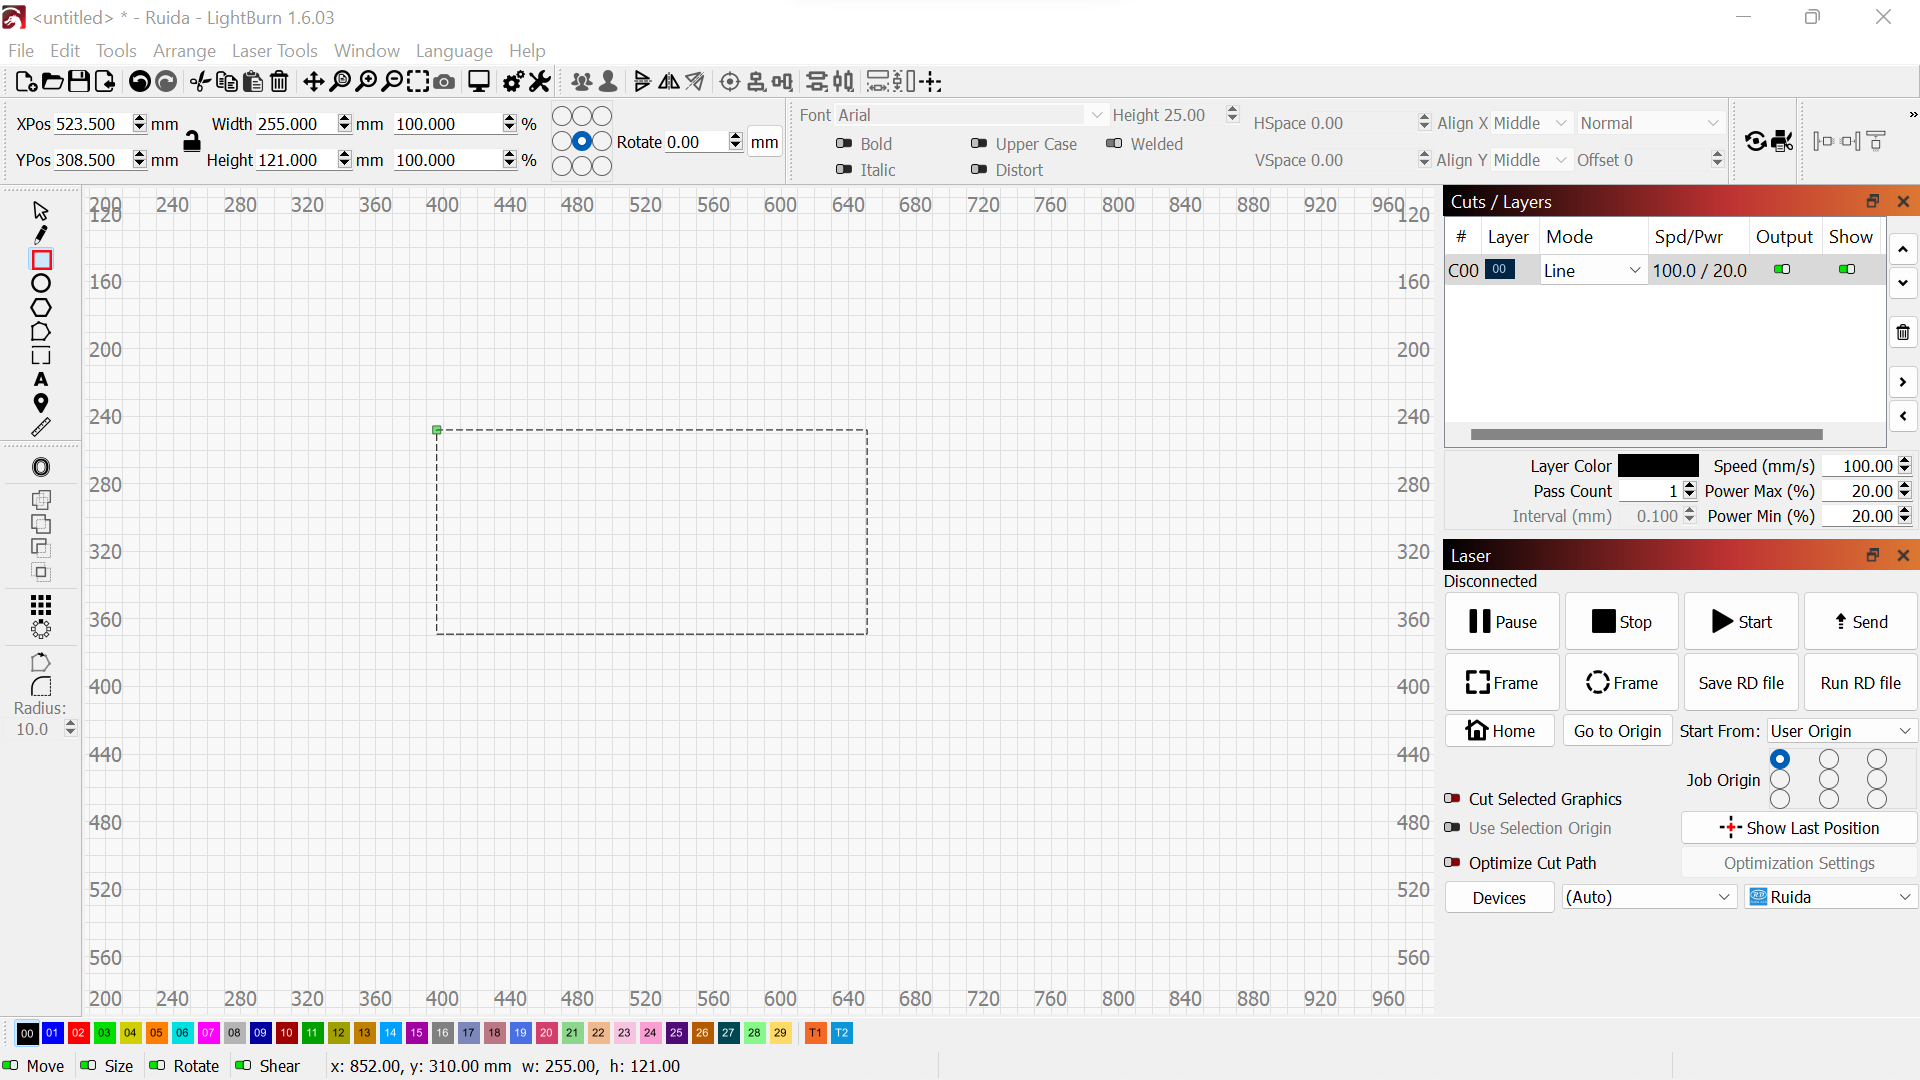
2. LightBurn
LightBurn is a powerful software used to design and control laser cutters and engravers.
Key Functions
Text
Shapes (circles, rectangles, lines)
Imported graphics (SVG, DXF, AI, PDF, PNG, JPG)
Vector drawings
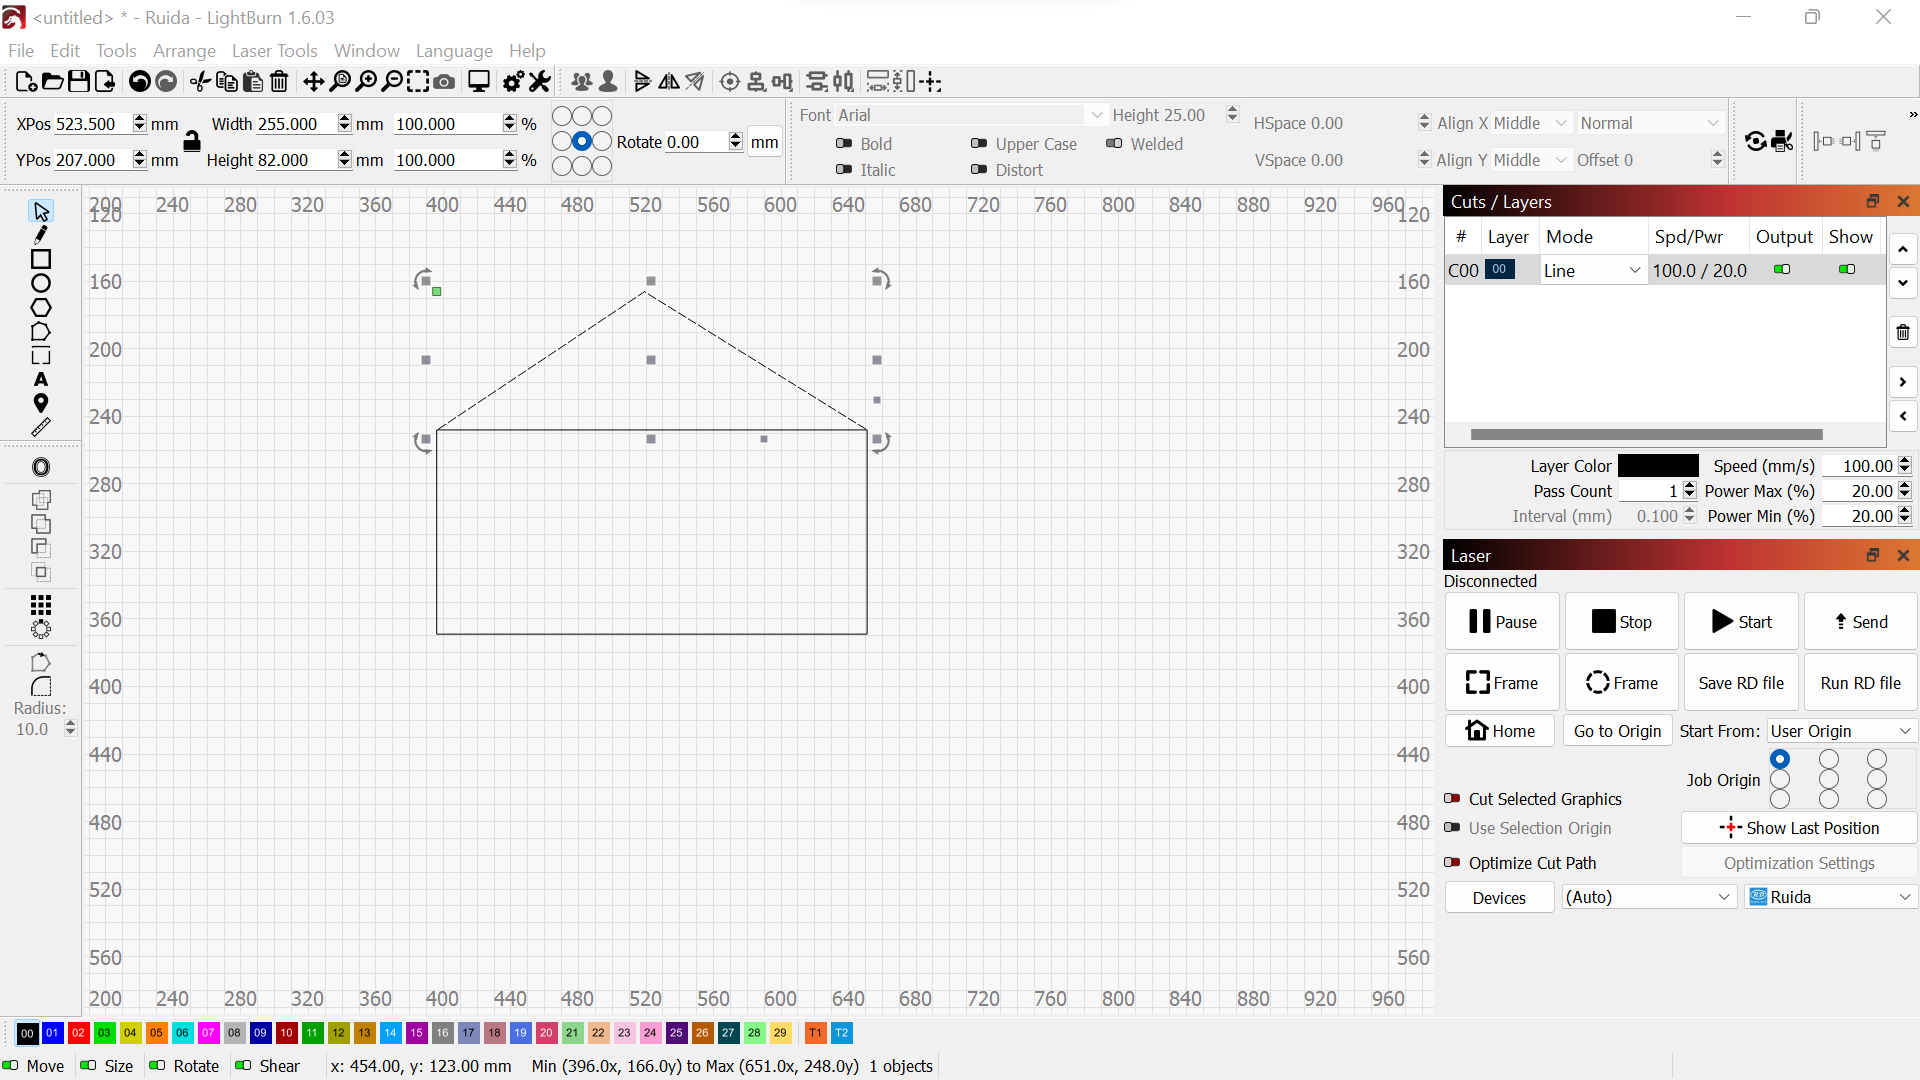
Getting Started with LightBurn
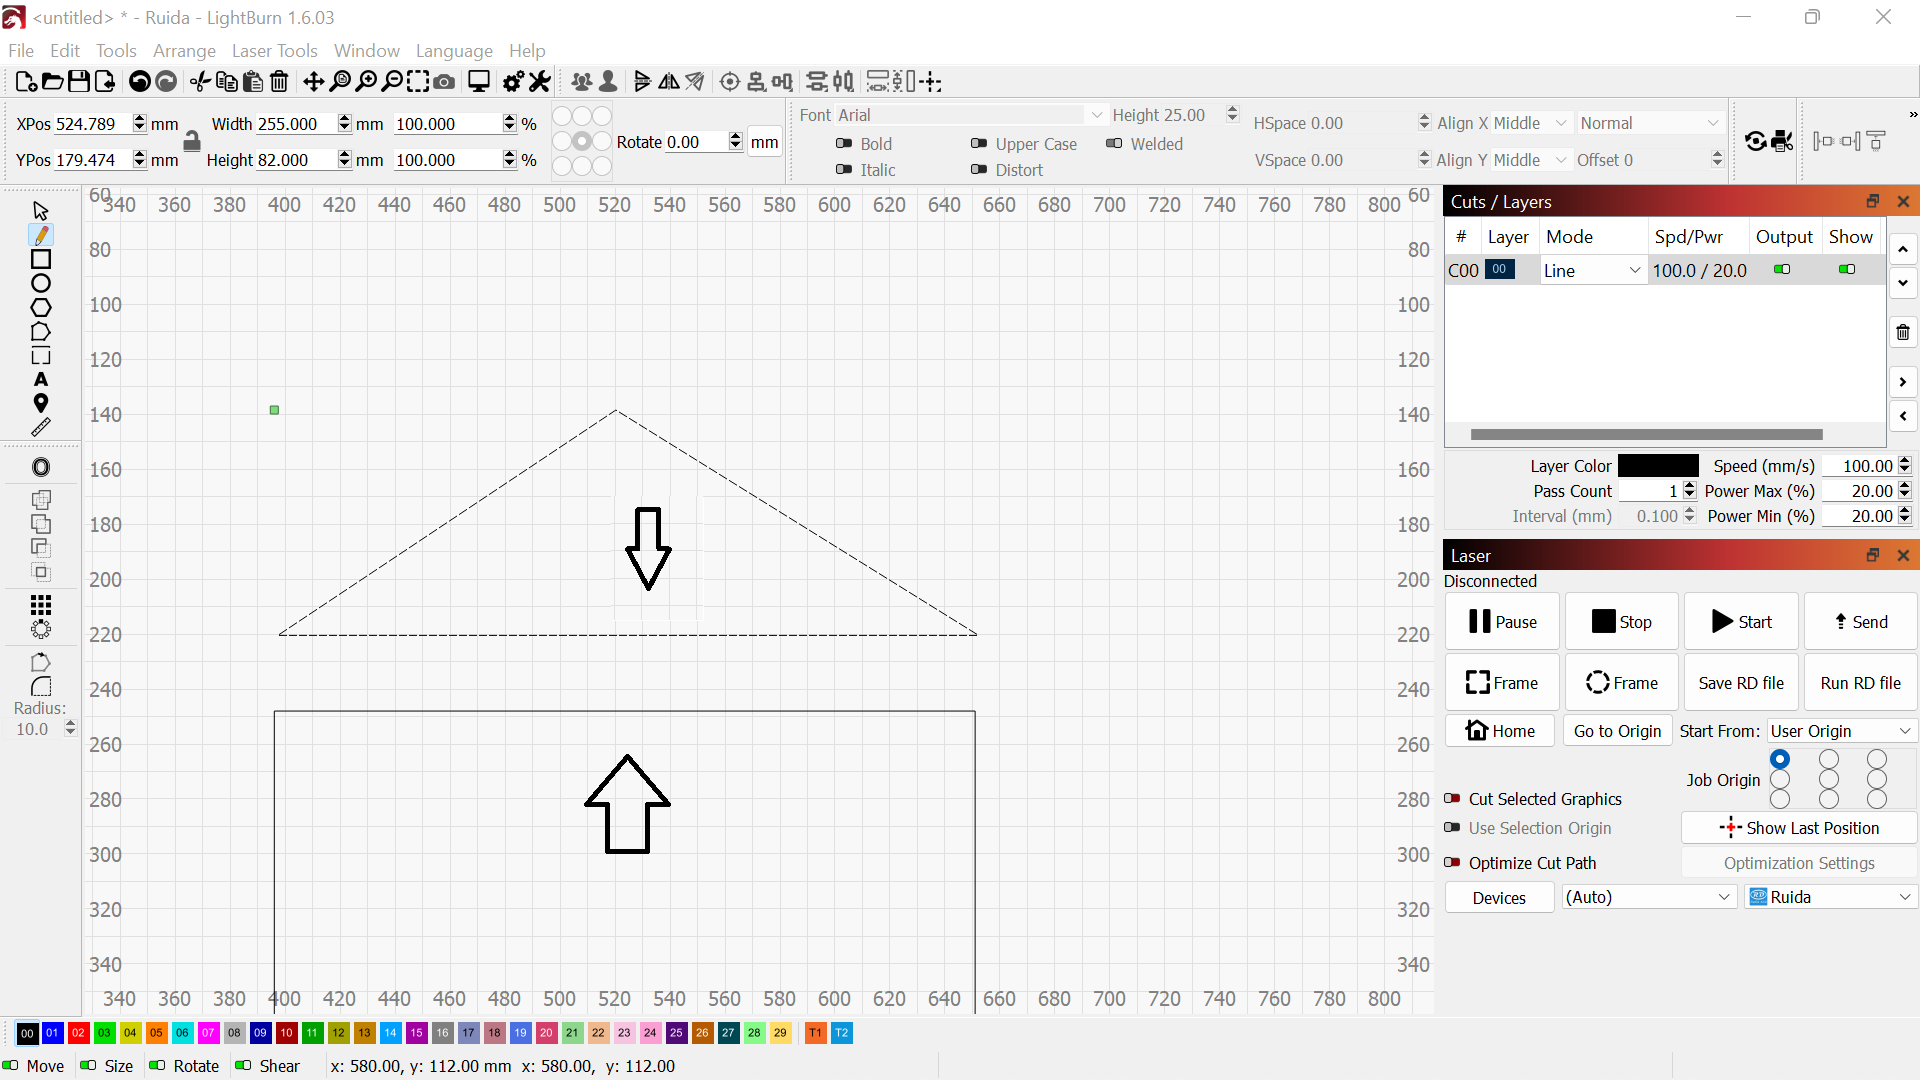
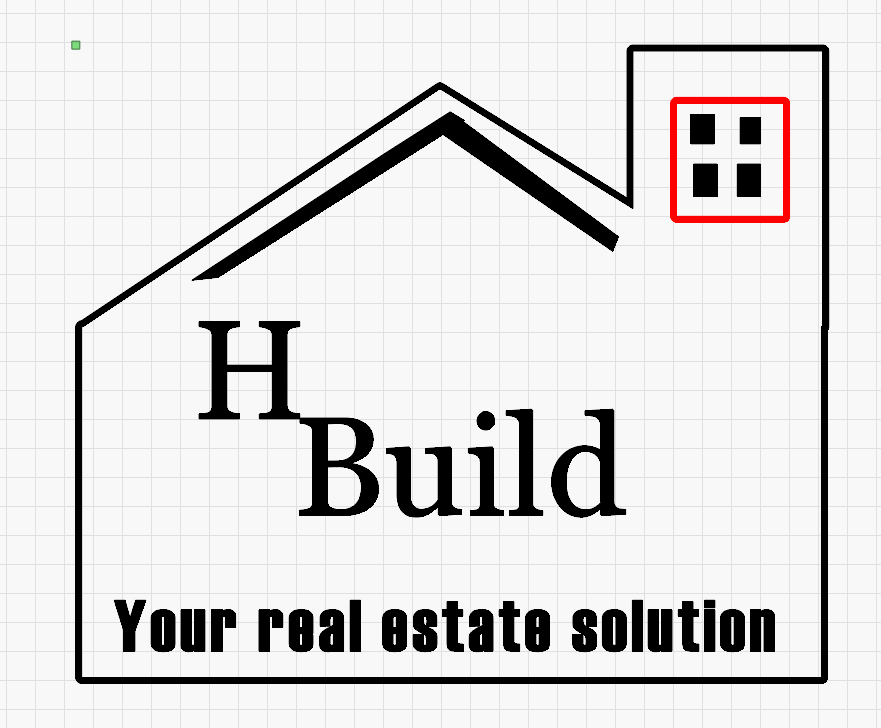
I started by designing a real estate logo.
Drawing rectangles
Drawing triangle
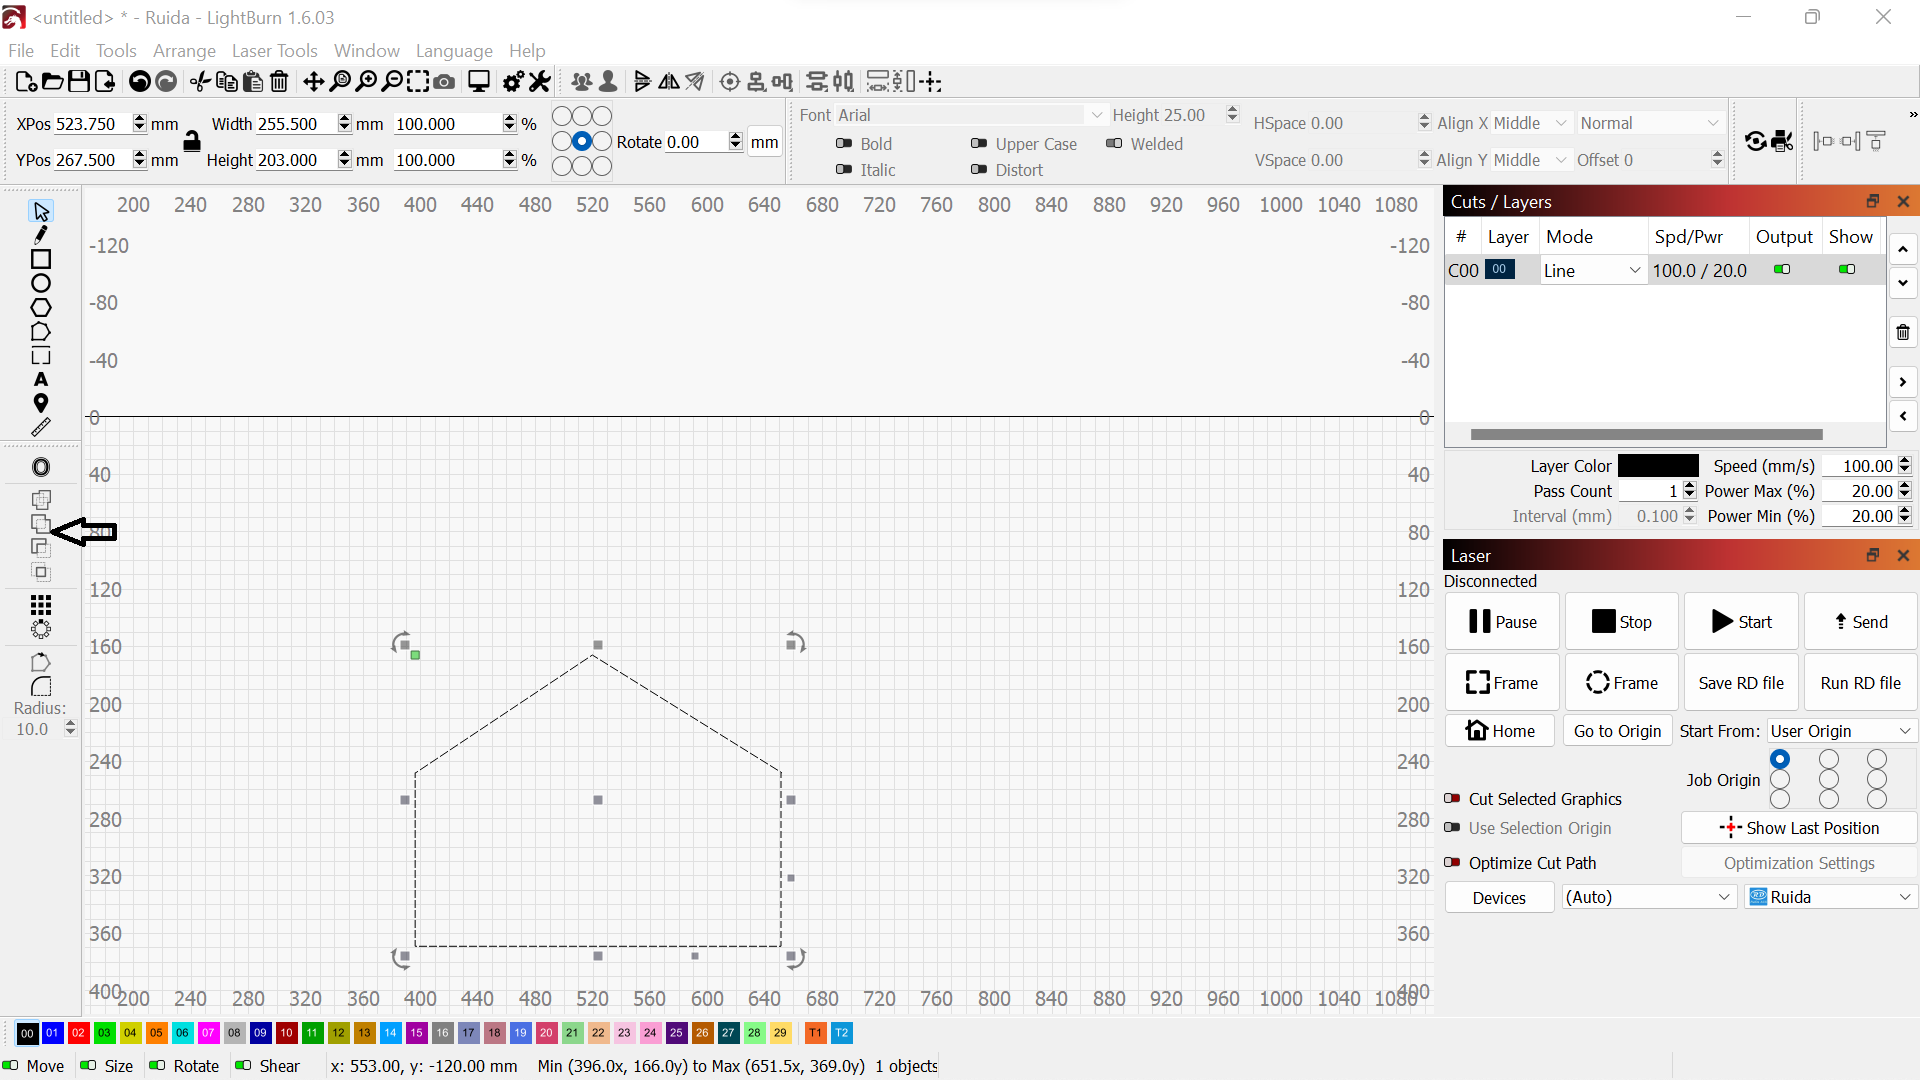
Union operation
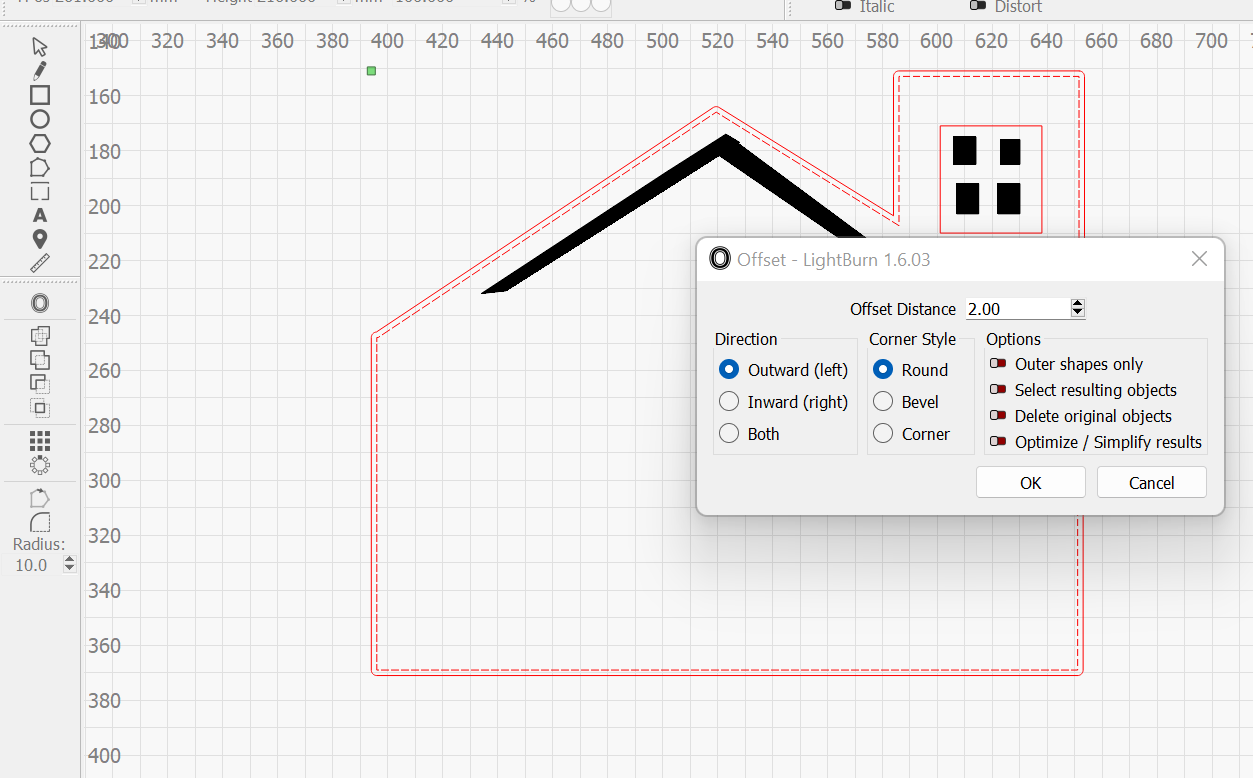
Offset borders and add windows
Final logo saved as SVG
3D SolidWorks
SolidWorks is a powerful CAD software used to create 2D drawings and 3D models for engineering and product design.